Behind the scenes at my printers
Iris Print - behind the scenes from Sam Morris on Vimeo.
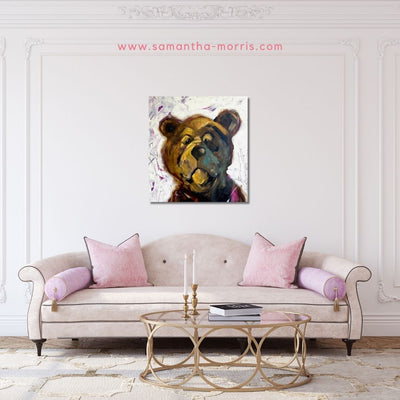
I don’t know about you but I love a behind the scenes peek and today I’m taking you behind the scenes at "Iris Print". The team at Iris Print are responsible for creating my high quality limited edition cow art canvas prints. They do an amazing job of managing all the orders and creating a high quality finish too. Not a week goes by when they don’t have one of my cows at some stage of the process. They let me into their workshop to film the key stages of production and I’ve listed some of my top tips, that might help other artists too.
Stage 1 - Sending the image
Some artists are skilled at computer programmes like Photoshop or similar editing programmes; well I’m afraid I wasn’t when I started my cow art business. Anyway I quickly learnt about all the different digital formats that are essential to create from your finished painting (this is a topic for another blog coming soon). So for the purposes of this blog let’s assume you have a high-res image of your finished artwork. Send that over to the printers (I use We transfer if I’m working at the computer in the studio and when I’m working on the road I have a Dropbox account that I can access and share too) and I try to ensure that the image is 300DPI (good enough for large print rather than view on screen).
Tips for artists – Use a 300 DPI image (minimum) for printing
Stage 2 – Sizing the image
Iris print match the image size to my canvas stretcher bar sizes and add the wrap around edges. I typically have black edges to my limited edition prints as this is how I finish my original paintings too. Some artists choose to mirror part of the image and literally wrap the image around the edges; it’s totally your finish preference, your style choice both look great.
Tips for artists – pick a standard size canvas for your images. It will make the choice easier for your customers and easier for your printers to manage their supply of stock to create your prints.
Stage 3 – Printing
Iris print use a matte, bright white, water resistant cotton and polyester 380gsm blend canvas which is ideal for the professional fine art high definition finish. As the poly cotton canvas mix is heavyweight it’s specialist coating offers accurate colour performance, which is so important to match to my original painting. Watching it slowly come out of the printer is hypnotic and amazingly the ink dries immediately!
Tips for artists – try an “Artists Proof” first to ensure that the print quality and colour match are as near to your original image as possible. An artist’s proof is not included in the count of a limited edition and can sometimes be called a “printers proof”
Stage 4 – Varnishing and stretching
The limited edition prints are varnished for protection from dirt, UV ink fading, airborne pollutants and abrasions (like fingerprints). The varnish is specially formulated to increase the density of the blacks and adds saturation too. You’ll notice on the film that when the varnish is first applied it appears milky in colour but it dries to 100% clear finish. Then the varnished flat canvas is stretched over the pine stretcher bars which make the box frame of the print. This is a fiddly job and requires a critical eye to ensure and even stretch and perfect placement over the bars.
Tips for artists – varnishing can make or break a piece of artwork ensure you know the qualities and attributes of the materials you use. Every stage involves something that can add or subtract from the quality of the finished product.


Leave a comment